Showing posts with label sewing. Show all posts

Friday, September 2, 2022

A little sewing

Hello friends and followers.........

Even with all the yardwork this summer, I've been in the mood for sewing. I  finally dragged out my machines that had been gathering dust on a shelf in my craft room. 

I have a Singer and a Riccar (old from the 90's). I love the Riccar! It is SO heavy duty.... but it had quit working when I tried to use it earlier last year. A friend of mine cleaned and adjusted it for me, and then it worked.. but I could not find the feet to go with it! So I had to order some from Amazon.  

You see... I wanted to do some sewing on my paper crafts, like around tags, and the pages of my little albums, etc. But I didn't want to use my "good" Singer (although I think the old Riccar is better!).


I was able to use the Riccar a few times to sew on my papers and I was so happy!....but it was short lived...........  as then the bobbin ran out, and I could not remember how to thread a new bobbin! And I tried using one that was already wound, but in doing so, unthreaded the top thread to the needle, so tried rethreading the needle, but then I would sew a few stitches and the thread would break! Over and over again it broke. Very frustrating!

I tried rethreading, adjusting and rethreading again many times... and watched some Youtube videos, but it still breaks. I can't figure out what I did, as when I first got the new feet, it worked fine.

Oh well, time to move on from that fiasco......... so I decided to use my Singer for some fabric projects. And guess what? I used it a little, and when I went to wind a new bobbin, the bobbin rewinder kept stopping and not winding the bobbin!  It would beep and stop....over and over and over......... So again, I went to YouTube, and found a video for my specific machine.. and it said I would have to open up the top case, dig in to the "clutch" and clean it or adjust it. Oh no.. I didn't want to do that! So I found another video that said the tension may be wrong on the little arm where you wind the bobbin, so I tried loosening that.. and low and behold, it worked! (..........for awhile anyway).

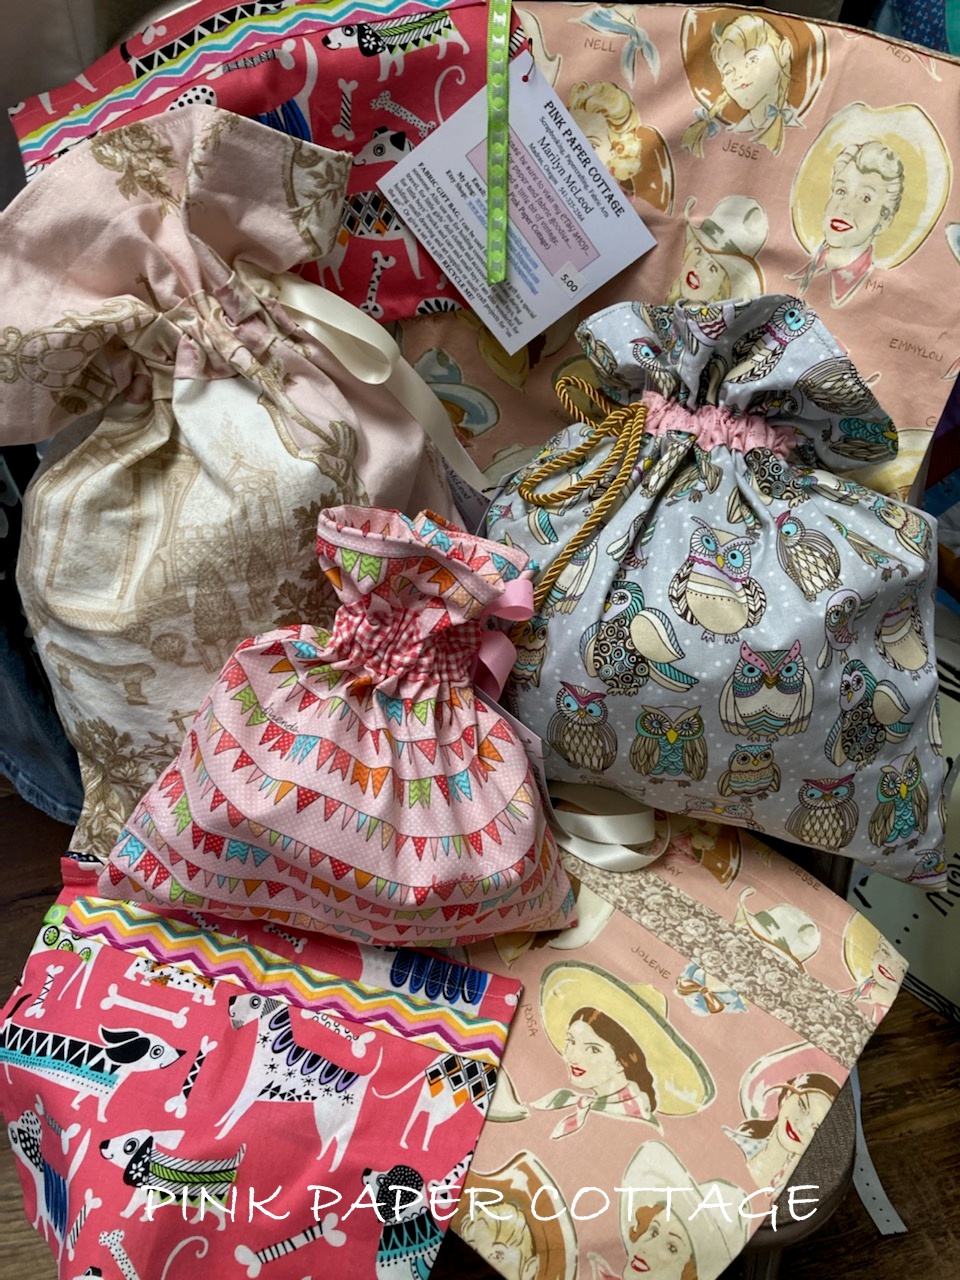
So I proceeded to make 7 pillowcases and about 10 fabric gift sacks, plus did some mending.


I was on a roll with the pillowcases! I had laid out several from my stash fabrics 2 years ago, to make pillowcases! I guess it's better late than never right? 

I made 2 pillowcases to match my new(ish) quilt that I bought last Fall to brighten up my bedroom (the first two shown above). They look so pretty on my bed. The rest I put in the little gift shop here where I sell my papercrafts.

And the gift sacks I also wanted to make for the little gift shop here in town (Hummingbird Junction), so I went through my older fabrics and pulled from those.  I found a good video on YouTube on how to make them with the sleeve for the cording of a different color. I loved that look.


I used some of my novelty fabrics for the gift sacks. Loved these owls and my retro style cowboy ladies.

I decided to make some pillow covers for some of my throw pillows that were Christmas designs, and from doing that, got 3 "new" pillows for my bed. 
The "Wildflower" pillow I bought from the little shop here in town.


I "shoppped my house" for a picture to put above my bed (had been a blank wall for months........) and got a cute little birdhouse and plaque to match, so I'm very happy with how it looks now. Both the birdhouse and plaque I bought at the Hummingbird Junction), where I display my papercrafts for sale. 


Love this sign!

That's about as far as I got on my sewing projects, this time anyway. My Singer bobbin winder pooped out on me again quit working again, so I had to wind the last couple of bobbins by hand to finish my last two gift sacks!

I had company last weekend, so put my piles of fabric (yet to be made gift sacks) away, and the sewing machine away..... and those will come out again on another day..... when I'm on a sewing roll again.

HAPPY SEPTEMBER!!

~Marilyn~


ALL CONTENT © PINK PAPER COTTAGE.
PLEASE DO NOT COPY MY PHOTOS AND IMAGES INTO YOUR OWN POSTS WITHOUT FIRST LINKING TO THIS BLOG AND MY NAME.

Tuesday, May 1, 2018

On a roll #5!

HAPPY MAY DAY everyone! 


I thought I'd better post my last "on a roll" project! Plus, I actually sewed one more wonderful, pretty project (pillow cases) a few days ago, but FORGOT to photograph them... and I gave them away as a gift. Darn it! I can' believe I forgot to take pictures!

Here are two other UFO's that I actually finished........ first is a "strata star" table centerpiece mat.


I took a class with my sister a few years ago to make this. I don't know why I picked these colors! It doesn't match anything I own..... but..... I had all these fabrics in my stash so I know I just pulled out some to use for the class, figuring I could always make a better one if I liked it. Well I DO like it,,,,, but it was alot of work, so another one will probably be non-existent.


I had fun "colorizing" this photo.

Look at these glasses! I LOVE them.... they belonged to my grandmother... and the crystal pitcher belonged to my aunt.

This looks complicated to make, but it actually wasn't that hard, just time consuming.
The next finished project was this table runner I started at least 7 years ago! It was almost all done except for putting the backing and binding on and quilting it. I love the colors in this one, but decided to finish it and give it to my "baby" sister (age 61) for her recent birthday. It matches her log cabin so well.


The quilting was done in straight rows, plus I did some "stipling" in the little rectangle areas.
 Here's a picture of my sister's "log cabin". 


I did the binding the same as on the recent jelly roll placemats I made. Those corners were a little tricky! But all done with machine zig zag stitch. 


Dressed up all pretty with my mom's hobnail vase. I remember this sitting on her dining table from when I was a little girl. The sweet creamer and teapot, my mom brought me from England when she visited there years ago.


I'm trying to keep this post short, so will end it for here. 14 photos..... that's not so bad! 

March and April have been super busy for me. I've had two three sets of company, plus I made a birthday dinner for my baby sister in mid-April... so lots of house cleaning, rearranging, cleaning up the clutter.... and cooking! I don't love to cook so much anymore, as I worked full time for over 40 years, raised two kids and did tons of cooking for family over the years.... so now..... I'm pretty much done with cooking, except on a special occasion here and there. 

I DO love to bake though.... desserts! But......... am trying during the month of May, to quit eating sugar and desserts entirely. I've gotten into the habit of eating too much sugar and carby things... so trying to lose a few lbs. by my birthday in late June! I'm not setting a "goal" or number, just would like to lose anything! We'll see how well I do.

That's it for now dear friends. I still have NO PICTURES to post of our yard or flowers. It has been a very cold and cloudy and unpredictable Spring so far.

~Marilyn~

Wednesday, April 11, 2018

Slowing down....... but still on a roll.......

Just stopping in for a quick wordy as usual post! It has been a very busy week, but I've managed to make a few of my "fabric boxes" that I saw on YouTube. They are so fun and so neat!

I'll jump right in and show you the first one I made.


Isn't it cute? The funnest thing is that these are all made with quilted or fabric (heavy) placemats! Yes... placemats! So easy, so quick. I'm addicted, but can't find any more of the kind of placemats I want to use at the thrift stores around here. I've scoured every one. This is a great quick, easy and thrifty project. 

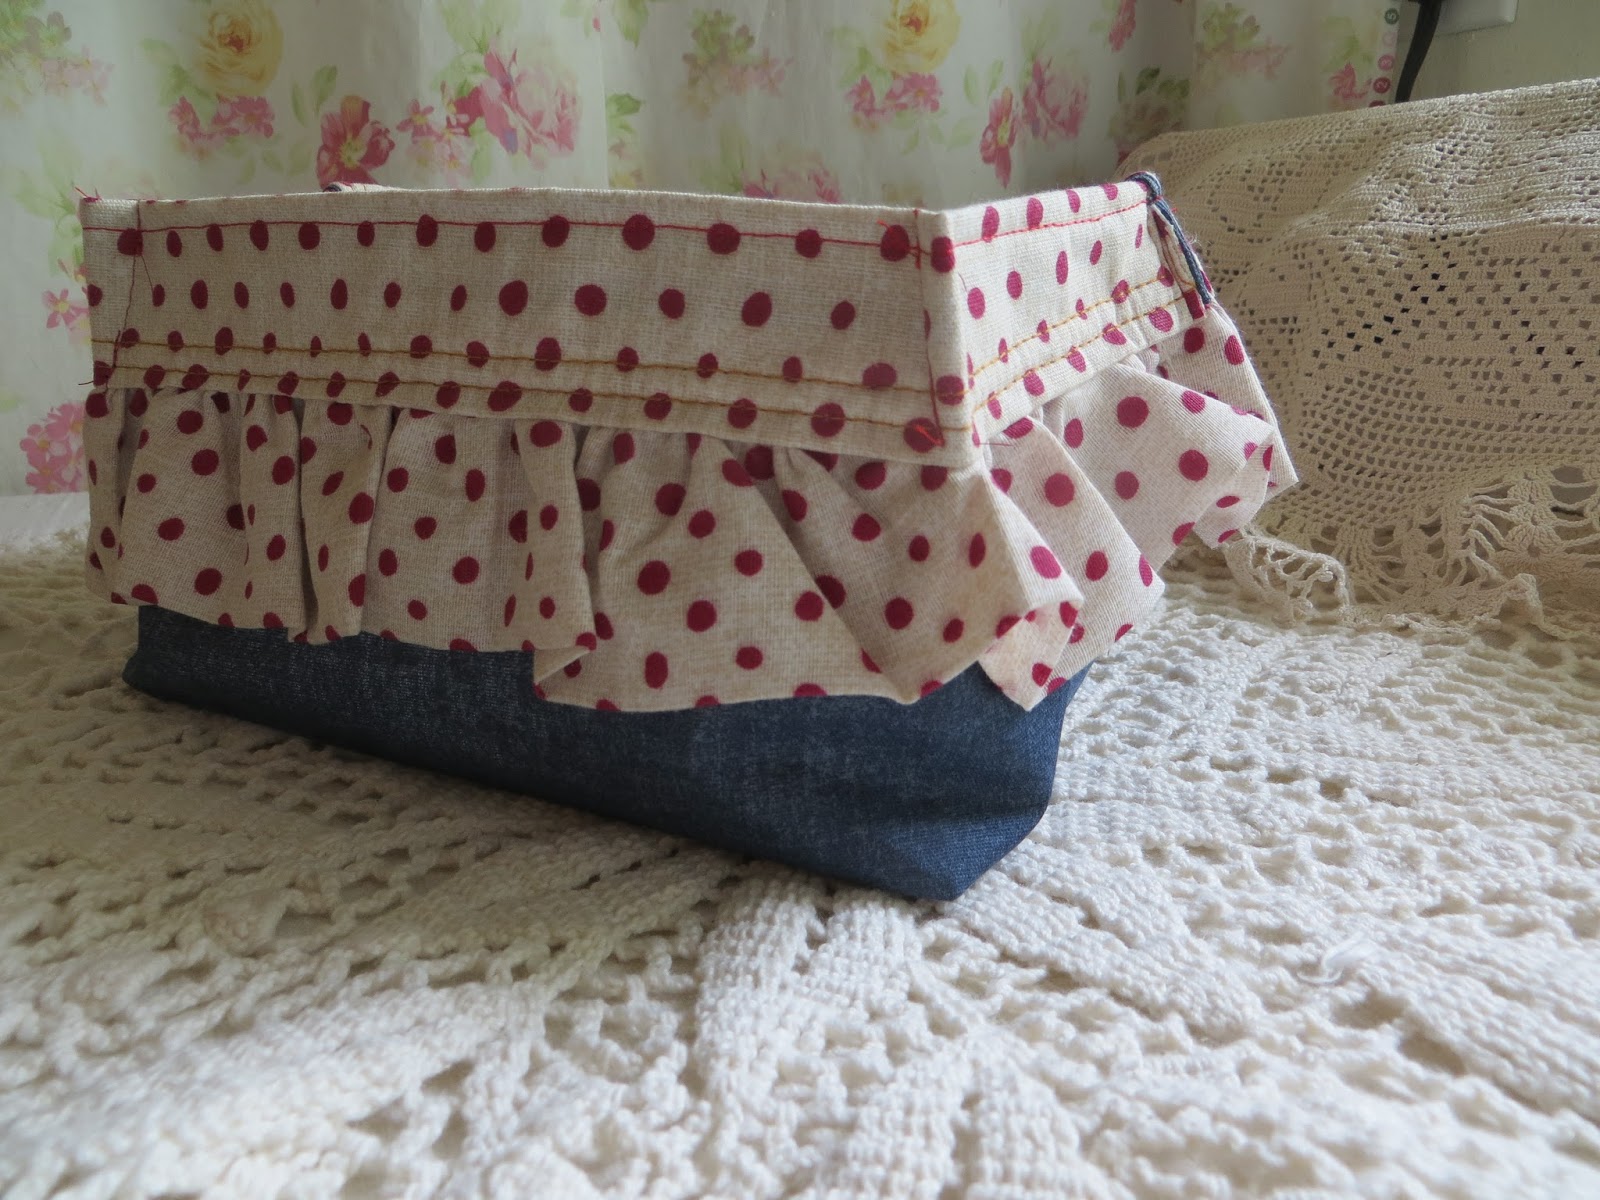
No putting on binding, no quilting, no sewing on the ruffle!  I bought this sweet little placemat (above) at Wal-Mart. It's a Pioneer Woman placemat. It came all lined and with the cute ruffle at each end.


The polka dot "lining" is inside... I did make a little tuck in each corner so that it would be a little sturdier. This mat was fairly light weight but did have some sort of stabilizer inside, so it stands up fairly well.
The video I watched is by Lorrie Nunemaker and can be found here.  She used the cutest Pioneer Woman placemat with pom poms on it. They are SO SO EASY. I mean, it takes about 5 minutes to make one, if you don't get all fussy like I do. I always have to tweak it somehow or add something, like this one:

I added some lace to the top and gathered the edge, as the fabric was not very stable. It was very floppy. And, this was not a placemat, but was a square table mat, about 22" square, and really was too big and too floppy. I was trying to tweak it enough to stand up on its own, but needed to add some pelon or stabilizer inside.  I sure love the fabric though!


It stood up OK after I filled it with some towels. Now if I had a nice big bathroom with alot of counter space, this would really look cute. But I don't... no counter space whatsoever, so not sure what I'm going to use this for. I was experimenting and added some cardboard inside so it would stand up better. If I were to keep it, I would probably make some sort of liner for it, covering it with a pretty fabric to match.

Cardboard added inside... not really a "finished" look at all..... just experimenting.
These next two were two placemats I got for 25 cents each at the thrift store. I wasn't sure they'd work, as again, they were very floppy and not lined.. but thought I'd give it a try. I couldn't stop making them! 


You can change how tall they are by turning the edge down further.


Perfect for cans of tea or little towels.


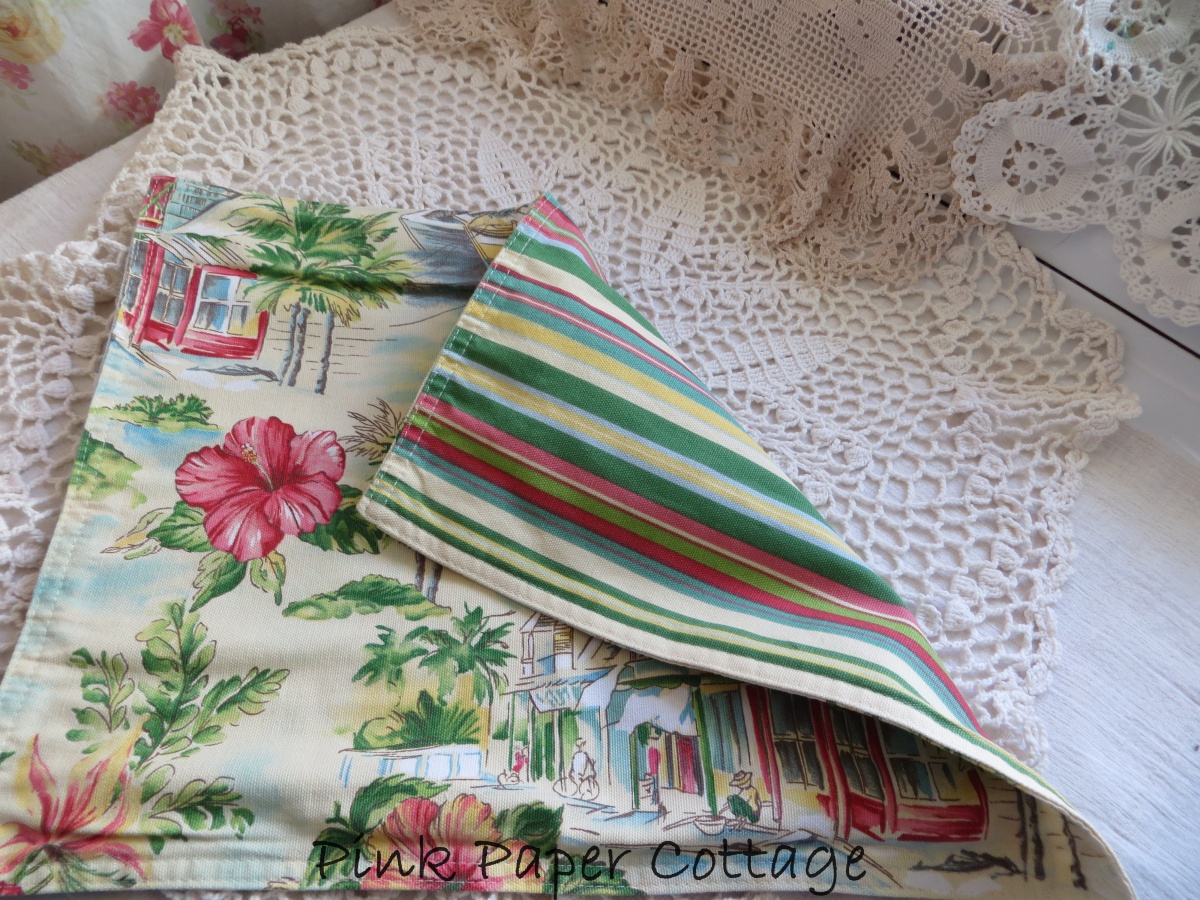
The fringed edge was at each end, so that when you sew it up the sides, the fringe becomes the trim on the folded over edge. Pretty nifty!  You do have to kind of shape them so they'll sit straight and not kind of fall in on themselves.... but..... I think next time I may put some sort of a stabilizer on the back, even though it'll take a few more minutes.


And of course, I COULD make my own placemat and then make the "box".. but that kind of loses the point of this being a quick and easy project.  It's so great for little gifts.

I have one more to make.. I found this at another thrift store in the next town over.. you'd think they'd have tons of placemats! but they didn't. It's very floppy so will definitely add some stabilizer to it with another pretty fabric on the back.. although I DO love the stripes on the back.. as they will be the turned down part.


Look at this cute towel a friend gave me. Has nothing to do with fabric boxes, but I used it inside one of them, and it reminded me how much I love it.. with that darling crocheted edge.  Hubby loves biscuits and gravy!


I'm still trying to finish up my second set of placemats! I'm so bad at finishing things if I lose interest or move on to something else... and right now... it's looking for more placemats to use! But then... what will I do with all these fabric "boxes"??? I have absolutely no counter space or dresser tops or table stops left in my house. I'll figure out something............

Have a Blessed Day..........

~Marilyn~


Saturday, March 31, 2018

Still rolling............... day 3.....

Did I tell you I'm making more placemats? I don't think I did! Well I am... that'll be another day of "show and tell". Today... I wanted to show you what I made a few weeks ago, probably after Valentine's Day when I got finished with my Valentine's Day cards and Hello Kitty mini albums (in my Etsy shop). 

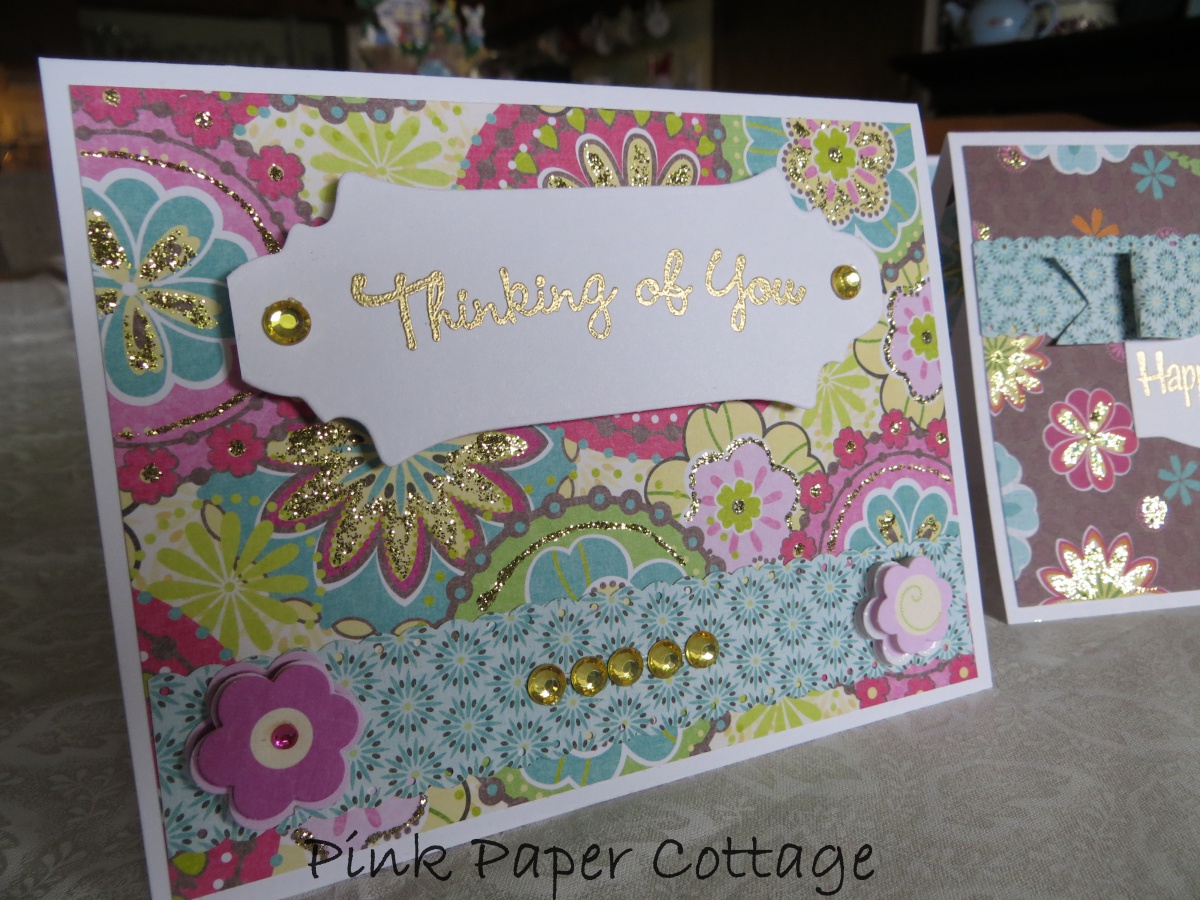
These cards were just pure fun.. and I made them for no particular reason, other than I just felt like it.

We have a local store called The Outpost, which is kind of like a Big Lots store. It has this 'n that and large quantities of things (food, paper goods), etc., and it's always fun to go in there and see what new things they have in their little crafting corner.

The owner used to have a lot of scrapbooking supplies, paper pads, albums, etc. but she has pared down and she hasn't had paper pads for a couple of years. But when I went in a few weeks ago, I was so happy to find she had an entire shelf of scrapbook paper pads! I would have bought one of each if I could have. I limited myself, and bought one little pad of these pretty bright spring-like papers, which also had some stickers and paper flowers with it.

So.......... I did some heat embossing with gold emboss powder, and made various sentiments.. then cut them out using some of my dies and Sizzix machine... and started to work play.

Here's what I came up with.....


I used my gold Stickles to add some glitter to the circles.

I made a pretty paper bow and added more gold Stickles to the flowers.

I LOVE this paper!

I had these white paper "doilies" which I used behind the sentiment label.


I just love all of these. I left the insides blank so I can write whatever I want on them. I think they got me into the spring mood!

ON ANOTHER NOTE:

I wanted to make something special for my older sister's birthday that was on February 28th (well really, the 29th, as she's a "Leap Year baby"!! I had sent her a card and gift certificate, but it got lost in the mail (and never has shown up again). Someone got a gift card I guess. 

So instead of sending a regular card, I decided to make a little quilt postcard. You can find videos on YouTube on "quilted postcards" or "fabric postcards". I actually bought a book years ago on how to make them, as I thought it was a really unique idea... to send a little mini quilt through the mail! I didn't do a whole lot of quilting on mine, just some fancy stitching.


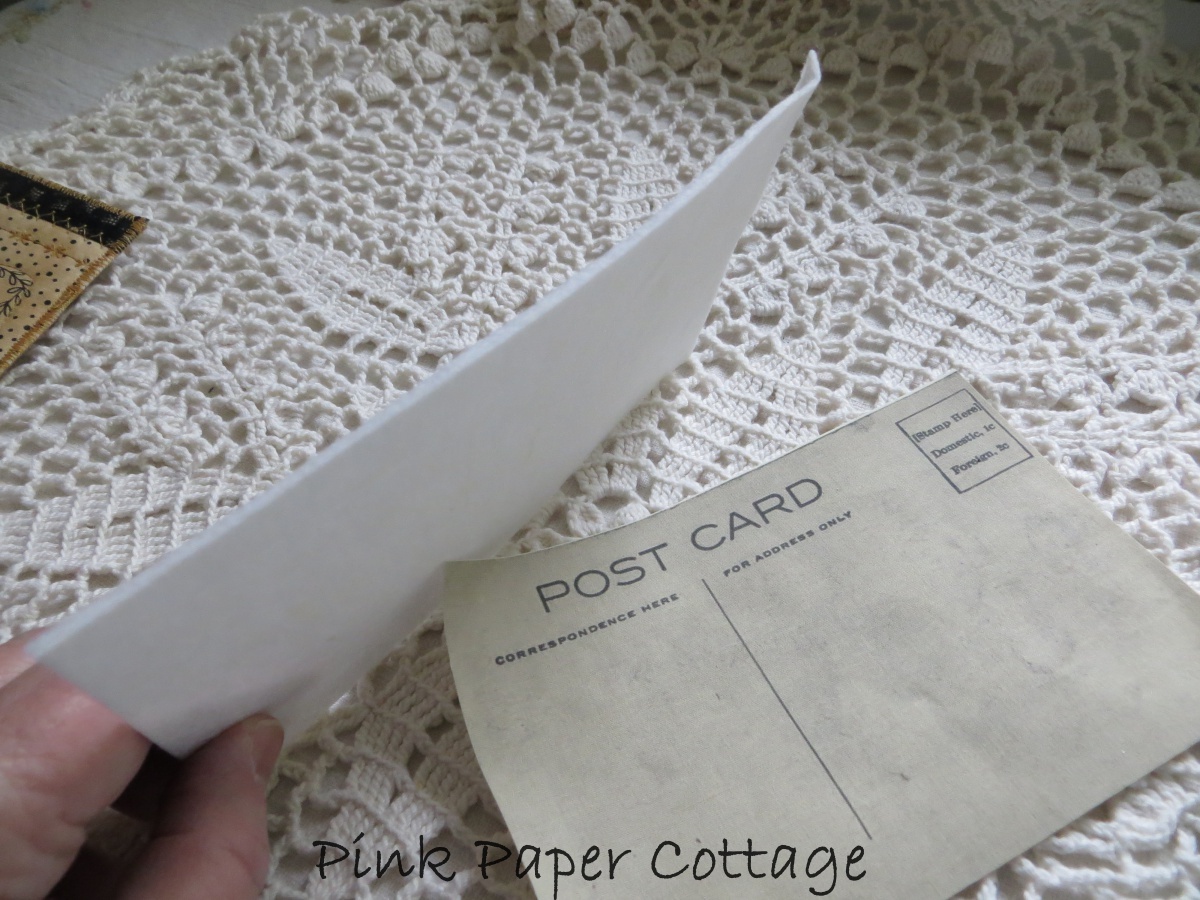
I printed the "postcard" side onto some fabric, and used some really heavy duty interfacing, almost like cardboard.
You make a little "quilt sandwich" using your postcard backing (printed on fabric), your interfacing, and then on the top, a pretty fabric that you've decorated or quilted or stitched on. I have this darling fabric that has some adorable quilt or life sayings on it, so used that.


I added the black strips on the sides and did some fancy machine stitching. Then I did a satin stitch all around the edges (twice) to protect it from raveling.
The interfacing is really thick...


The postcard ends up very sturdy and like a piece of cardboard.
I sent this one through the mail... it cost me 71 cents. 

I drew the lines with my permanent marker.


My sister loved it! I know I'll be making more of these and I'm going to do more quilting on them, like little strips of fabric and more fancy stitching.

I have a couple of more projects to show you but that'll be another day.....

Hugs to you all.
~Marilyn~