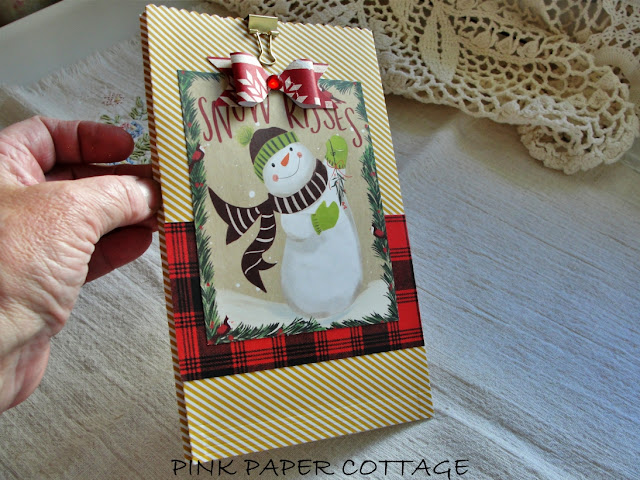
The first photo that I showed on my last post, was a pile of Christmas card boxes.
I've been having a blast making all sorts of things from Dollar Tree Christmas cards! You get 18 cards in a box for $1.00 (here in Oregon) and they are mostly 5x7 cards and really nice quality.
I made all sorts of little post it note books and photo frames, which I showed on my blog post dated December 10, 2019 HERE. Those were all given away as gifts. I also watched a gal on YouTube who was using the cards to make die cut embellishments, so away I went! I spent hours die cutting. I have a Sizzix cutting machine and used my fancy oval dies, some star dies and a little lantern die to put together a cute lantern. I also cut some florals and doilies. I will use these on next year's cards. I mean.. the boxed cards are really pretty as they are - but that is too easy to just send out those!
 |
| These are some of the cards - so very pretty! |
 |
| I cut some of sentiments on the insides of the cards, into fancy ovals. |
So now I have the idea to go to Dollar Tree, and see what other cards they may have.. I don't think they have Valentine's Day boxed cards, but you never know!
Next... my post showed a pile of Christmas fabrics. Here's what I made:
Draw string fabric gift sacks! I had used up all the ones I previously had in my stash. My sisters and I each try to make some fabric gift bags each year, and then they get passed around with gifts inside. This year, I didn't have very many (which sister hoarded them???) so I wanted to make some for next year. So I made about 15 gift sacks from Christmas fabric I had bought. I also scanned in the fabric to my computer, so I can print it out as paper for cards or boxes, etc.
It was such pretty fabric! I had bought it originally to make some fabric Christmas pumpkins.... yes.... pumpkins. I finally made a little fabric pumpkin AFTER Thanksgiving, and loved it so much, decided I'd make some with Christmas fabric.
But grand ideas just don't come to fruition sometimes, do they? So instead, they became gift sacks. Maybe next year I'll get pumpkins made BEFORE Christmas! As my mom used to say: "a day late and a dollar short"..... that's me.
I decided to make some of the red Christmas fabrics into Valentine's Day gift bags. I added some pretty floral fabrics and bows and lace.
A friend had given me some pretty Christmas fabrics, so that's what got me onto the roll to scan fabrics into my computer. I printed out some pages from the fabric paper, and made a bunch of Christmas tags. I then made up each piece of her fabric into a gift bag for her. So she got 4 gift bags and some matching paper tags for each! I forgot to take pictures of those sweet bags, but they were darling. She had purchased the fabric from the local thrift store.
Here's the fabric scanned:
 |
| Fabric that is now paper I can print out as many times as I want. |
 |
| The cutest fabric - what cute cards I can make next year! |
 |
| This made the cutest gift tags! I made a TON of Christmas gift tags and gave them as gifts to everyone. |
 |
| I made this sweet little bag and tucked in 3 of my handmade Christmas cards, with envelopes - great gift! |
I got an idea in my head to buy some cheap (but nice) wrapping paper that I saw at our local discount store, and make some of my own little pink gift sacks to use to package my Etsy shop items. I just happened to see this pretty pink flocked paper at our local discount store. It was $1.49 for 2 large sheets and I could make 8 bags from it.
And while I was at it, I made myself a new "logo" sticker to put on the front of these sweet little bags. I printed it on regular paper and vellum paper. I like the vellum (see 2nd photo below) as you can see the pink through it. Which one do you like?......the one printed on the vellum or the one printed on regular white paper, with the white border around it? (Note: I did somewhat copy this logo from The Posh Paper Lady. Although I'm frilly and "girly" I loved the simplicity of her logo tag. Of course, I had to add some flowers to it!)
 |
| Some of these I will decorate with other embellishments I made, and paper flowers. |
 |
| Vellum on the left, plain white paper on the right. Which one? |
 |
| I LOVE this truck paper. I think this was my last sheet. |
 |
| These hold 3x5 post it notes that I got............ where?.............yup............The Dollar Tree! |
 |
| Hand doodling made it more fun. |
And while I was using some of my older papers, I made a "rosette Christmas tree" - I found the video on YouTube, but now can't remember who it was. There are several tutorials out there.
 |
| The bottom "mat" is a crocheted doily I made last summer - I made several that are red and white or green and white, to use over the holidays. |
I've made a few other cute papercrafting (larger and more time-consumming) projects, but I'll save those for my next post. This is long enough!
Have a good rest of January everyone! Oh... and my tree IS down and decorations put away. Phew............
~Marilyn~


